Introduction
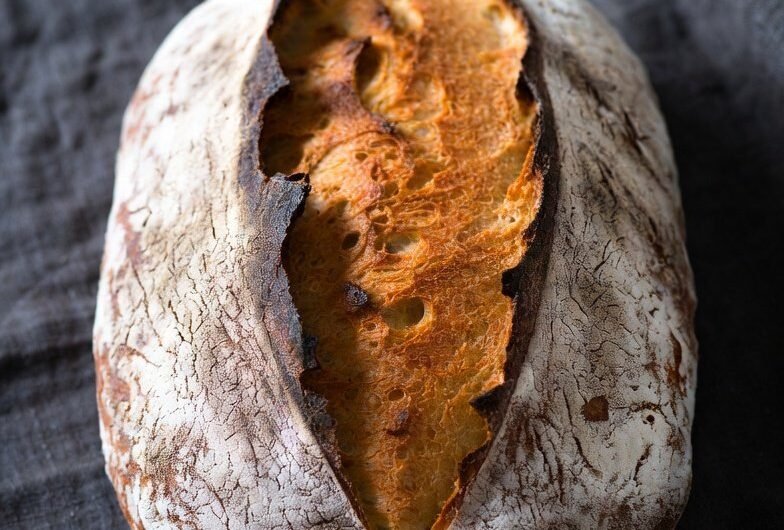
There's nothing quite like the aroma of freshly baked No-Knead Crusty Artisan Bread wafting through your home. It invites you in with its golden crust and pillowy interior, making each bite a delightful experience. With its simple ingredients, you’ll be amazed at how easy it is to incorporate this gorgeous loaf into your daily meals.
Imagine pulling a steaming loaf from the oven, the crust crackling as you slice through soft, airy bread that’s perfect for soaking up soups or slathering with your favorite butter. This recipe requires minimal hands-on time, allowing you to enjoy the process of baking without the usual fuss. It’s the artisanal touch your kitchen needs, and you can start today!
Ingredients
- 3 cups all-purpose flour
All-purpose flour provides the structure and chewiness we love in bread, allowing it to rise and achieve that perfect crust. You can substitute some of it with whole wheat flour for a nuttier flavor. - 1 1/2 teaspoons salt
Salt enhances flavor and strengthens gluten, ensuring a beautiful rise. Opt for sea salt or Himalayan pink salt for a bit more flavor complexity. - 1/4 teaspoon instant yeast
Instant yeast helps the dough to rise without the need for kneading, making it essential for this streamlined recipe. You can use active dry yeast, but let it bloom in warm water for 5 minutes before mixing. - 1 1/2 cups water, room temperature
Water hydrates the flour and activates the yeast, forming a sticky, wet dough. Ensure it’s at room temperature for optimal yeast activity.
Directions & Preparation
Step 1: Mix dry ingredients.
In a large bowl, whisk together the flour, salt, and yeast until well combined. This initial step is quick but vital; a uniform mix helps to achieve consistent flavor and texture throughout the loaf.
Step 2: Add water.
Pour in the room-temperature water and stir with a wooden spoon until the mixture comes together and forms a shaggy, sticky dough. It should feel wet and look lumpy—this is the secret to that airy crumb!
Step 3: First rise.
Cover the bowl with plastic wrap or a clean towel and let it rise at room temperature for 12 to 18 hours. During this time, the dough will bubble and expand, developing flavor and that artisan texture we all love.
Step 4: Shape the dough.
After the long rise, turn the dough out onto a well-floured surface. With floured hands, gently fold the dough over itself a couple of times, being careful not to deflate it too much. You want to preserve all that air.
Step 5: Second rise.
Shape the dough into a ball and place it seam-side down on a piece of parchment paper. Cover it and let it rise for another 1-2 hours, until puffy. Imagine the smell of the yeast—it's like a prelude to the feast ahead.
Step 6: Preheat the oven.
About 30 minutes before baking, preheat your oven to 450°F (230°C). Place a Dutch oven or heavy oven-safe pot (with lid) inside to heat. This creates a steam environment that’s instrumental in achieving that crispy crust.
Step 7: Bake the bread.
Carefully remove the hot pot and lift the parchment with the dough into it. Cover with the lid and bake for 30 minutes. In the last 15 minutes, remove the lid to achieve that gorgeous golden-brown crust. Listen for that crackling sound as it cooks.
Step 8: Cool and enjoy.
Once baked, carefully transfer the bread to a wire rack. Allow it to cool for at least 30 minutes before slicing. This waiting game is torturous but vital for texture—trust me, the warm, crusty loaf will be worth it!
The Magic of Long Fermentation
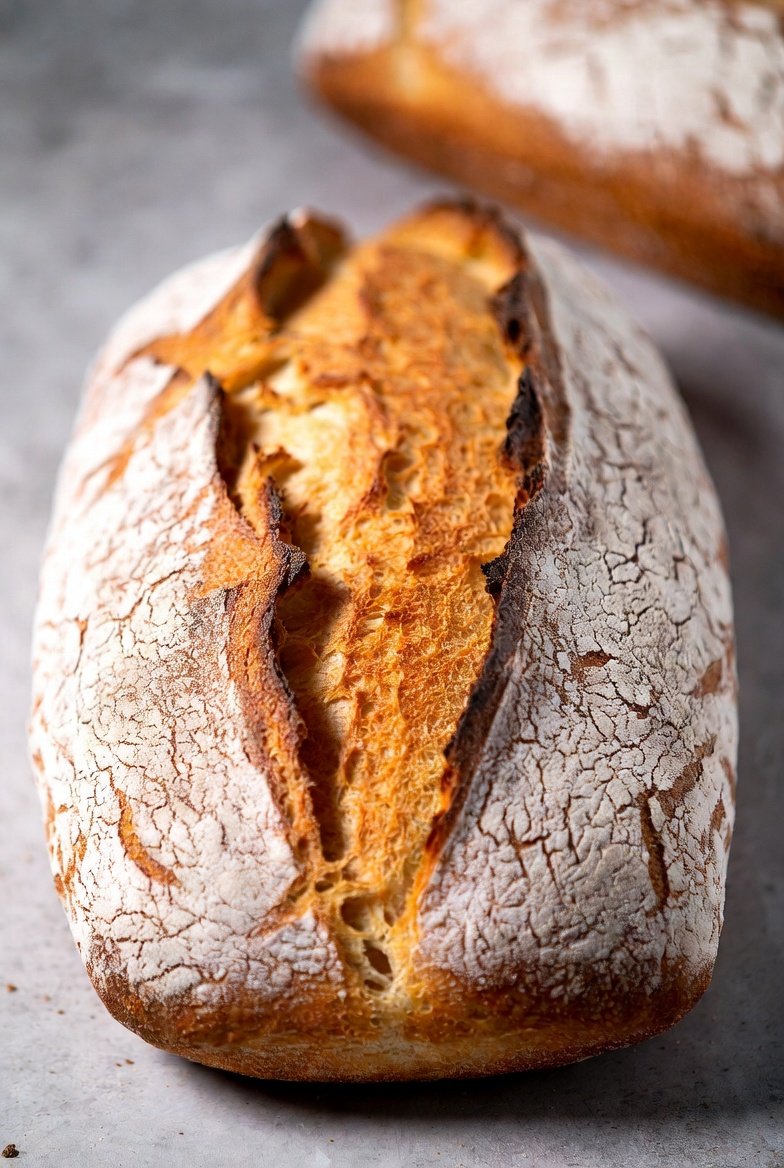
Letting the dough rise slowly over many hours transforms its flavor and texture. The gluten structure develops beautifully, resulting in a complex taste that’s reminiscent of artisanal bakeries. This slow process encourages fermentation, allowing natural sugars to form, contributing to that irresistible crusty exterior.
Steaming for the Perfect Crust
Baking the bread in a hot, covered pot steams the dough, which helps create that signature crust. As the moisture evaporates, the crust firms up and gets crunchy. This method mimics the steaming action of a traditional bread oven, ensuring everyone can achieve bakery-level results right at home.
Experiment with Flavors
This basic no-knead dough is a fantastic canvas for all kinds of flavor additions. Think herbs like rosemary or thyme, nuts, olives, or cheese. These ingredients can enhance the overall taste and elevate your loaf, making each bake a unique expression of your culinary creativity.
FAQs
What should I do if my dough is too dry?
If your dough feels dry and isn't coming together, slowly add a tablespoon of water until it reaches the right consistency. The dough should be tacky to the touch but not overly sticky.
Can I scale up the recipe?
Absolutely! To double the recipe, simply double all ingredients and use a larger bowl for mixing. Just ensure your pot is large enough to accommodate the larger dough.
Why did my bread not rise as expected?
Check if your yeast is active. It should bubble when mixed with water before adding it to the flour. Also, temperature plays a big role—if it’s too cold, let the dough rise longer.
Can I add mix-ins like cheese or herbs?
Definitely! After the first rise, gently fold in your preferred mix-ins like shredded cheese or fresh herbs for a delightful twist.
How do I maintain a crispy crust after baking?
To keep that crust crisp, be sure the bread cools completely on a wire rack to avoid steam buildup. If you're storing leftovers, keep them in a paper bag.
What’s the best way to slice the bread?
Use a serrated knife for clean slices. This will prevent squashing and lets you enjoy the beautiful texture you've worked to create.
Conclusion
There's a certain satisfaction that comes from baking your own No-Knead Crusty Artisan Bread. Each loaf is a testament to your patience and creativity, and the rewards are tasty beyond measure. Bring your loved ones together to enjoy the simple pleasure of fresh, homemade bread.
I hope you'll embrace this recipe and let its delightful aroma and flavor fill your kitchen. Whether for breakfast, an afternoon snack, or dinner, this bread is a truly enriching addition to your culinary repertoire. Happy baking!
Recipe Card
Notes
Additional serving suggestions: pair with a crisp salad, garlic bread, or roasted seasonal vegetables for balance.
For make-ahead, prep components separately and assemble just before heating to preserve texture.
Taste and adjust with acid (lemon/vinegar) and salt right at the end to wake up flavors.